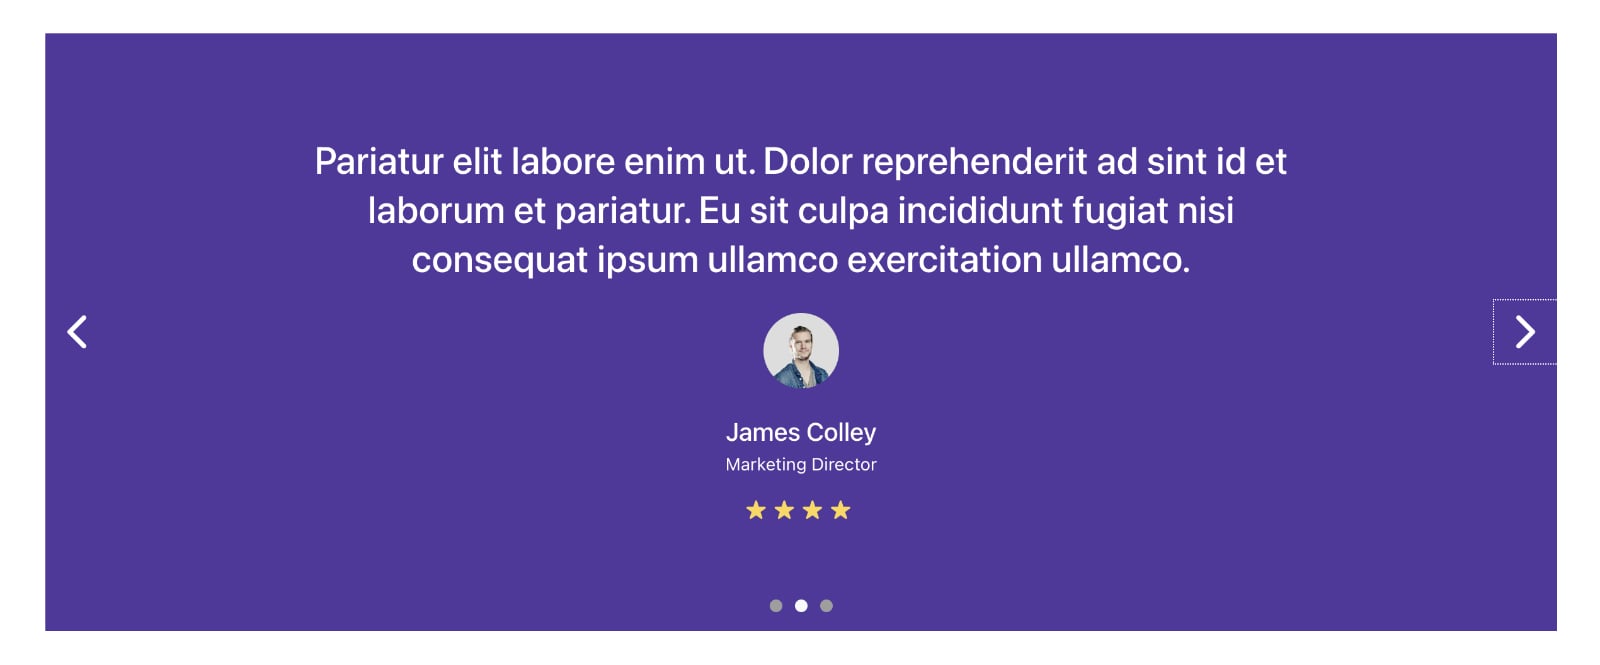
This Pro tutorial provides the steps to set up a dynamic testimonial slider in Bricks that pulls the data from a Custom Post Type’s post fields and custom fields.
Main text → CPT item post content
Image → CPT item featured image
Name → CPT item post title
Position → CPT item’s testifier_position custom field value
Star rating → based on CPT item’s rating custom field value. If 5 is selected in the select field’s dropdown, 5 stars will be output. If 4 is selected, 4 stars will be output and so on..
Step 1
Create a testimonial CPT using a plugin like CPT UI.
Step 2
Install and activate ACF.
If you would like to import the field group from our demo site, here‘s the json file.
Create a new field group.
Add a new field of type Text whose Field Name is testifier_position.
Add another field of type Select whose Field Name is rating.
Set the Choices to:
1
2
3
4
5
Set the Default Value to
5Under Location, associate the field group with your Testimonial CPT.

Step 3
Add Testimonials.
Enter/set the title, content, position, rating and featured image for each.
Step 4
Let us define a custom function that returns the HTML for stars output based on the passed-in rating argument.
In your child theme’s functions.php or a snippets plugin like WPCodeBox, add:
/**
* Function that returns stars based on the passed-in rating argument.
*
* @param int $rating
* @return string
*/
function bl_output_star_rating( $rating ) {
$rating_html = '';
for ( $i = 0; $i < $rating; $i++ ) {
$rating_html .= '★ ';
}
return $rating_html;
}Step 4
Edit the Page/Template where you would like to show the testimonials slider.
Template Export
A .json export file of the “Testimonial Slider” Section Template is provided near the end for your convenience. Manual steps are below.
Add a Section and inside its Container, a Slider element.
Toggle Use Query Loop to on.
Click on “I am a slide” and change the Title to:
This file contains bidirectional Unicode text that may be interpreted or compiled differently than what appears below. To review, open the file in an editor that reveals hidden Unicode characters.
Learn more about bidirectional Unicode characters
| {post_content} |
For the Content, switch to Text view and paste:
<div class="testimonial">
	<div class="testimonial__image"></div>
	<h4 class="testimonial__name">Testimonials Slider in Bricks</h4>
	<div class="testimonial__position">{acf_testifier_position}</div>
	<div class="testimonial__rating">{echo:bl_output_star_rating({acf_rating})}</div>
</div>
Scroll down and locate the Background control. Set your desired background color for the entire slider here.
Click the Query icon.
Type: Posts
Post type: Testimonials
SETTINGS
TITLE → Title Typography → Font Size: 3rem
Line Height: 1.3
DOTS → Show Dots: on
Color: #9e9e9e
Active Color: #f8f9fb
Switch to the STYLE tab.
CSS → Custom CSS:
root .title {
	max-width: 800px;
}

root .testimonial__image {
	margin-top: 1em;
}

root .testimonial__image img {
	width: 60px;
	height: 60px;
	border-radius: 30px;
}

root .testimonial__name {
	font-size: 2rem;
	color: #fff;
	margin-top: 1em;
}

root .testimonial__position {
	font-size: 1.4rem;
}

root .testimonial__rating {
	color: #ffd64f;
	margin-top: 0.5em;
	font-size: 1.8rem;
}

root .bricks-button {
	display: none;
}
and we are done!