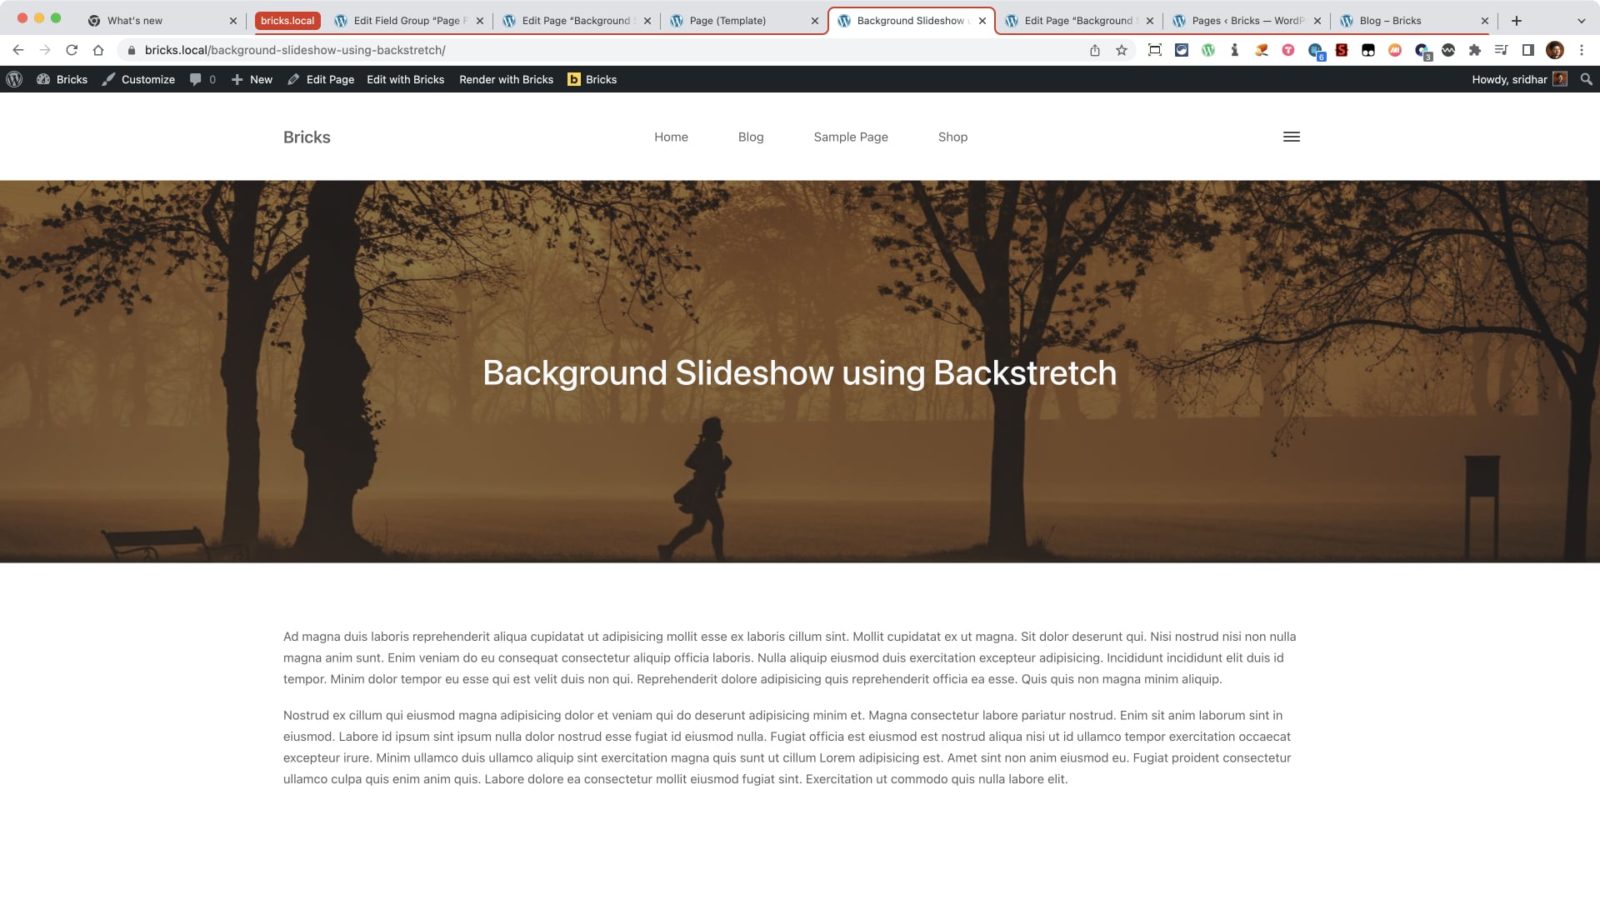
This Pro tutorial provides the steps to load and initialize Backstretch on the images uploaded to a post (of any post type like Pages or CPT) using ACF Pro on the page header section with the post title overlayed in the center for a background slideshow in Bricks.
Note: Another way to get the same visual result is by possibly using the built-in Slider element. We may explore and cover this in another tutorial.
Step 1
Install and activate ACF Pro.
We are going to use a Gallery type of field.
Go to Custom Fields → Add New to create a new field group named say, “Page Fields”.
Add a field having the label of “Background Slideshow Images” and press Tab to have the Field Name automatically be set to background_slideshow_images.
Set the Field Type to Gallery.
Leave the Return Format at the default, Image Array.
In the Location meta box, select your desired Post Type – in this example, Page.
Step 2
Edit your Pages and for each, upload the slideshow images by populating the Gallery field.

Step 3
Create a directory called assets in your child theme and inside that, js directory.
Upload jquery.backstretch.min.js to your child theme’s assets/js directory.
Ex.: /wp-content/themes/bricks-child/assets/js/backstretch-init.js
Create a file named say, backstretch-init.js in the same location having the following:
(function ($) {
  $(".page-header").backstretch(BackStretchImg.src, {
    duration: 4000, // amount of time in between slides in milliseconds. Default: 5000
    fade: 750,
  });
})(jQuery);
Step 4
Edit child theme’s functions.php.
Below a line that is similar to:
wp_enqueue_style( 'bricks-child', get_stylesheet_uri(), ['bricks-frontend'], filemtime( get_stylesheet_directory() . '/style.css' ) );paste:
if ( is_page() ) {
    // load Backstretch
    wp_enqueue_script(
        'backstretch',
        get_stylesheet_directory_uri() . '/assets/js/jquery.backstretch.min.js',
        [ 'jquery' ],
        '2.1.18',
        true
    );

    // load backstretch's init file
    wp_enqueue_script(
        'backstretch-init',
        get_stylesheet_directory_uri() . '/assets/js/backstretch-init.js',
        [ 'backstretch' ],
        '1.0.0',
        true
    );

    // empty array to store the image URLs
    $image_urls = [];

    // load the custom field value
    $images = get_field( 'background_slideshow_images' );

    if ( $images ) {
        // loop through the images and store the URLs in our variable
        foreach( $images as $image ) {
            $image_urls[] = esc_url( $image['sizes']['background_image'] );
        }

        // pass the array of image URLs to init JS file
        wp_add_inline_script( 'backstretch-init', 'const BackStretchImg = ' . json_encode( array(
            'src' => $image_urls,
        ) ), 'before' );
    }
} // End if().
At the end of the file, add:
// Register custom image size
add_image_size( 'background_image', 1920, 450, true );
Regenerate thumbnails if necessary.
Here is the complete sample functions.php for your reference.
<?php
/**
 * Register/enqueue custom scripts and styles
 */
add_action( 'wp_enqueue_scripts', function() {
	// Enqueue your files on the canvas & frontend, not the builder panel. Otherwise custom CSS might affect builder)
	if ( ! bricks_is_builder_main() ) {
		wp_enqueue_style( 'bricks-child', get_stylesheet_uri(), ['bricks-frontend'], filemtime( get_stylesheet_directory() . '/style.css' ) );

		if ( is_page() ) {
			// load Backstretch
			wp_enqueue_script(
					'backstretch',
					get_stylesheet_directory_uri() . '/assets/js/jquery.backstretch.min.js',
					[ 'jquery' ],
					'2.1.18',
					true
			);

			// load backstretch's init file
			wp_enqueue_script(
					'backstretch-init',
					get_stylesheet_directory_uri() . '/assets/js/backstretch-init.js',
					[ 'backstretch' ],
					'1.0.0',
					true
			);

			// empty array to store the image URLs
			$image_urls = [];

			// load the custom field value
			$images = get_field( 'background_images' );

			if ( $images ) {
					// loop through the images and store the URLs in our variable
					foreach( $images as $image ) {
							$image_urls[] = esc_url( $image['sizes']['background_image'] );
					}

					// pass the array of image URLs to init JS file
					wp_add_inline_script( 'backstretch-init', 'const BackStretchImg = ' . json_encode( array(
							'src' => $image_urls,
					) ), 'before' );
			}
		} // End if().
	}
} );

/**
 * Register custom elements
 */
add_action( 'init', function() {
	$element_files = [
		__DIR__ . '/elements/title.php',
	];

	foreach ( $element_files as $file ) {
		BricksElements::register_element( $file );
	}
}, 11 );

/**
 * Add text strings to builder
 */
add_filter( 'bricks/builder/i18n', function( $i18n ) {
	// For element category 'custom'
	$i18n['custom'] = esc_html__( 'Custom', 'bricks' );

	return $i18n;
} );

// Register custom image size
add_image_size( 'background_image', 1920, 450, true );
Step 5
Edit the Bricks Template that applies to single Pages.
Add a Section.
With the Section selected, go to STYLE tab and locate GRADIENT / OVERLAY control group.
Apply To: Overlay
Set a dark color with some transparency.
Select the Container element inside the Section and set Align Cross Axis to center. You may want to set a top and bottom padding of say 200px so the slideshow can be seen with enough height.
Step 6
Add a Post Title element inside the Container.
Set its color to white.
and we are done!
References
https://www.advancedcustomfields.com/resources/gallery/
https://developer.wordpress.org/reference/functions/wp_add_inline_script/