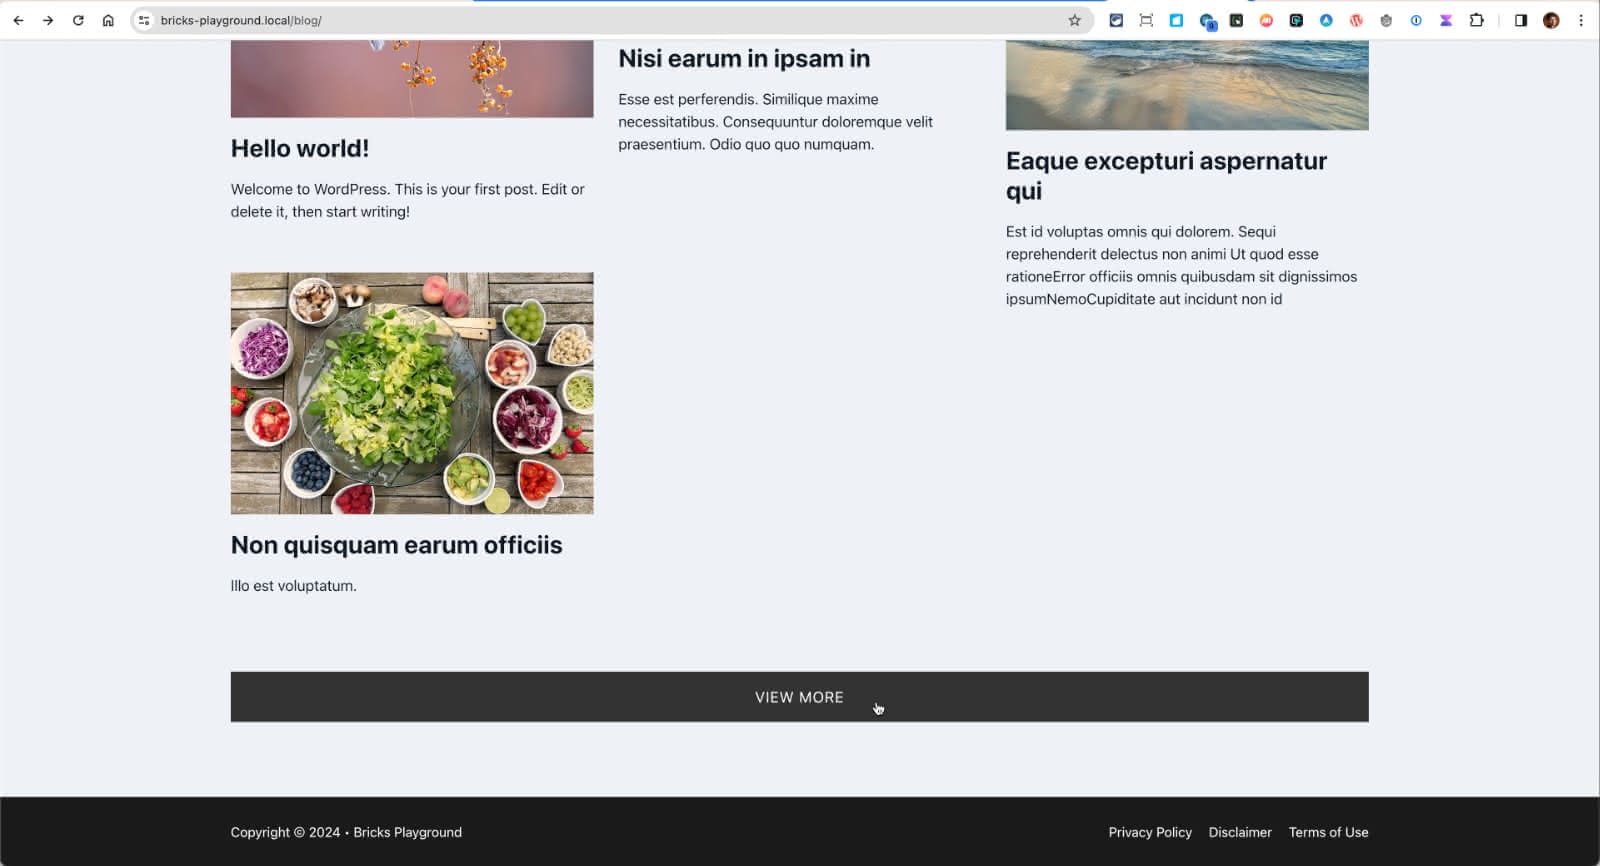
This Pro tutorial provides the steps to lay out posts in a masonry style with a View More button, which, when clicked, loads the next page of posts in Bricks.
Step 1
Edit your Posts page (typically, Blog) or an archive template or a static Page with Bricks.
Section JSON for quickly pasting the structure is provided at the end of this step.

Manual instructions:
Add a Section and inside its Container, a Container.
Change its HTML tag to ul.
Change its label to “Masonry Grid”.
Set left padding to 0.
Add these CSS classes under STYLE → CSS:
masonry-grid are-images-unloadedAdd a Block inside.
Change its HTML tag to li.
Give it a class of masonry-post.
Row gap: 1em
Bottom margin: 60
Width: calc((100% - 60px)/3)
Height: auto
Position: relative
Switch to 991px breakpoint and set width to calc((100% - 30px)/2).
Switch to 767px breakpoint and set width to 100%.
Switch to the Desktop breakpoint.
Enable query loop and select your post type (if other than post) and optionally, Posts per page.
Do NOT enable Infinite scroll option in the query loop settings.
Add your desired elements inside like Image, h3 Heading and Basic Text. Map them to the featured image, post title link,
{post_title:link}
and excerpt.
Add a Pagination element as a sibling of Masonry Grid.
If you are setting this on the Posts page or an archive template, leave Query as the default of “Main query”.
If setting up on a Page, select “block” (the element on which query loop is active).
Add a Code element.
<div class="page-load-status">
  <div class="loader-ellips infinite-scroll-request">
    <span class="loader-ellips__dot"></span>
    <span class="loader-ellips__dot"></span>
    <span class="loader-ellips__dot"></span>
    <span class="loader-ellips__dot"></span>
  </div>
  <p class="infinite-scroll-last">End of content</p>
  <p class="infinite-scroll-error">No more pages to load</p>
</div>

<button class="view-more-button">View more</button>
Set left and right margins to auto.
Step 2
Click on Settings (gear icon) → PAGE SETTINGS → CUSTOM CODE → Custom CSS:
.page-load-status {
	display: none; /* hidden by default */
	/* padding-top: 20px;
	border-top: 1px solid #DDD; */
	text-align: center;
	color: #777;
}

.loader-ellips {
	font-size: 20px; /* change size here */
	position: relative;
	width: 4em;
	height: 1em;
	margin: 10px auto;
}

.loader-ellips__dot {
	display: block;
	width: 1em;
	height: 1em;
	border-radius: 0.5em;
	background: #555; /* change color here */
	position: absolute;
	animation-duration: 0.5s;
	animation-timing-function: ease;
	animation-iteration-count: infinite;
}

.loader-ellips__dot:nth-child(1),
.loader-ellips__dot:nth-child(2) {
	left: 0;
}
.loader-ellips__dot:nth-child(3) { left: 1.5em; }
.loader-ellips__dot:nth-child(4) { left: 3em; }

@keyframes reveal {
	from { transform: scale(0.001); }
	to { transform: scale(1); }
}

@keyframes slide {
	to { transform: translateX(1.5em) }
}

.loader-ellips__dot:nth-child(1) {
	animation-name: reveal;
}

.loader-ellips__dot:nth-child(2),
.loader-ellips__dot:nth-child(3) {
	animation-name: slide;
}

.loader-ellips__dot:nth-child(4) {
	animation-name: reveal;
	animation-direction: reverse;
}

.view-more-button {
	background-color: #ddd;
	width: 100%;
	padding: 20px;
  text-align: center;
	border: none;
	text-transform: uppercase;
	letter-spacing: 1px;
	cursor: pointer;
	transition: all 0.2s ease-in-out;
}

.view-more-button:hover {
	background-color: #333;
	color: #fff;
}

/* reveal grid after images loaded */
.masonry-grid.are-images-unloaded {
  opacity: 0;
}

/* hide by default */
.masonry-grid.are-images-unloaded .masonry-post {
  opacity: 0;
}
Step 3
Create a directory called assets in your child theme directory and inside that, a directory named js.
Upload infinite-scroll.pkgd.min.js to the above js directory.
Create a file named masonry-init.js in the same directory having:
document.addEventListener('DOMContentLoaded', (event) => {

    let grid = document.querySelector('.masonry-grid');

    let msnry = new Masonry( grid, {
        itemSelector: 'none',
        gutter: 30,
        percentPosition: true,
        horizontalOrder: true,
        stagger: 30,
        // nicer reveal transition
        visibleStyle: { transform: 'translateY(0)', opacity: 1 },
        hiddenStyle: { transform: 'translateY(100px)', opacity: 0 },
    });

    // initial items reveal
    imagesLoaded(grid, function () {
        grid.classList.remove('are-images-unloaded');
        msnry.options.itemSelector = '.masonry-post';
        let items = grid.querySelectorAll('.masonry-post');
        msnry.appended(items);
        msnry.layout(); // Ensure layout is triggered after appending items
    });

    // init Infinte Scroll
    let infScroll = new InfiniteScroll( grid, {
        path: 'ul.page-numbers a.next',
        append: '.masonry-post',
        hideNav: '.brxe-pagination',
        button: '.view-more-button',
        scrollThreshold: false,
        status: '.page-load-status',
        history: false, // remove this if you want paginated URLs
        outlayer: msnry,
    });

});
Step 4
Edit child theme’s functions.php.
Inside the function that is hooked to wp_enqueue_scripts, add:
if ( is_home() ) {
	wp_enqueue_script( 'infinite-scroll', get_stylesheet_directory_uri() . '/assets/js/infinite-scroll.pkgd.min.js', '', '4.0.1', true );

	wp_enqueue_script( 'masonry-init', get_stylesheet_directory_uri() . '/assets/js/masonry-init.js', [ 'infinite-scroll', 'masonry' ], '1.0.0', true );
}
Replace is_home() depending on where you are setting this up.
is_home() stands for the Posts page.
For static frontpage: is_front_page()
For a specific static Page: is_page( 'sample-page' )
For category archives: is_category()

Check the front end.